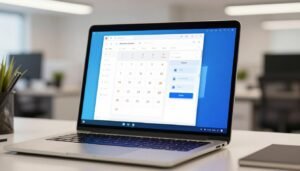
You can capture video of your display without buying extra apps. This guide is for people running Windows 10 or Windows 11 who need quick demos, tutorials, bug reports, or simple show-and-tell clips.
There are three easy paths: Xbox Game Bar for a single app, the Snipping Tool in Windows 11 for a chosen region, and a browser-based option when you want a pure no-download way. For one clear search term, this article covers how to record screen on Windows without installing software so you can pick a method fast.
The workflow is simple: pick what you will capture, start with a shortcut, stop, and find the saved file. Pay attention to permissions and privacy when you capture meetings or protected media. Later sections give audio tips, quality settings, and exact steps so your first take is not a scavenger hunt.
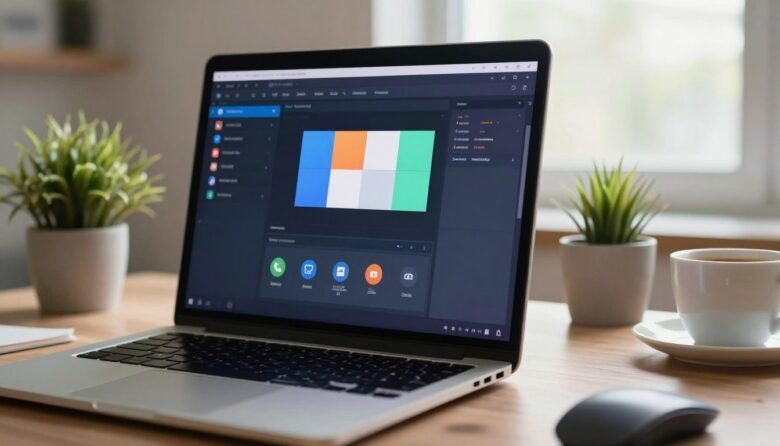
Pick the right free Windows screen recorder for what you’re trying to capture
Pick the right built-in tool so your capture matches what’s on your display. Each native option fits a clear use case: a single app, a precise region, or anything the browser can share.
When Xbox Game Bar is the easiest way
The xbox game bar is built into Windows 10 and 11 and shines for app-focused clips. Use it when you want a fast shortcut workflow that saves MP4 files from one active app, like a PowerPoint or a game.
When Snipping Tool makes more sense
Windows 11 includes a Snipping Tool that records a selected region and outputs MP4. Choose this tool for short, focused captures of menus, dialog boxes, or a portion of a page.
When a browser-based recorder is best
Browser recorders use the built-in share picker to grab a tab, a window, or the full screen and end when you stop sharing. This is ideal on locked-down devices or when you want zero installs.
- Decision rules: Game Bar for speed, Snipping Tool for region control, browser for zero-install convenience.
- Note: richer features like editing, annotations, and webcam overlays usually need third-party tools.
How to record screen on Windows without installing software with Xbox Game Bar
The Game Bar puts a compact recorder in your hands with a few keyboard shortcuts. First enable the xbox game bar in Settings > Gaming so Win+G opens the overlay. This one-time step makes the keys work reliably.
Start and stop fast
Click the app you want and press Win + Alt + R to start recording instantly. Press the same keys again to stop recording, or open Win + G and use the capture button if you prefer a visual control.
Where files, audio, and quality live
Open Settings > Gaming > Captures to confirm the save folder (Videos\Captures), MP4 format, and max clip length. Choose 30 FPS for most videos or 60 FPS when motion matters. Set video quality to Standard or High, and enable “Capture mouse cursor” for tutorials.
- Toggle your microphone with Win + Alt + M during a take.
- Enable “Record audio when I record a game” to include system sound.
- Turn on “Record what happened” (background recording) and press Win + Alt + G to save the last ~30 seconds.
Record a custom screen area in Windows 11 using Snipping Tool
Need a tight shot of a settings panel or dialog? Snipping Tool handles region-based video in a few clicks and keeps the result compact and focused.
Open Snipping Tool and switch to the camera icon
Press Win + Shift + S or search “Snipping Tool” and open the app. Click the video camera icon to switch the tool from capture mode into video mode.
Select a window or region, then use the toolbar button
Click New, then draw a box around the exact area you want, or drag around a single window. A compact toolbar appears with a Start button you tap to begin recording.
Choose your microphone input or mute voiceover
Before you start, pick a microphone if you want narration, or mute the mic for a silent clip. The on-screen microphone control is handy for quick swaps mid-take.
Stop, preview, and save as an MP4 file
Use the Stop button on the toolbar when finished. Snipping Tool shows a preview so you can inspect audio and motion. Save the final video as an MP4 file; that is the app’s export format.
- Best use: short tutorials of a menu, dialog, or settings pane.
- Troubleshoot: if audio controls are missing, update Snipping Tool in the Microsoft Store.
- Note: some builds include a Pause control on the toolbar; check your version if you need it.
Use an online screen recorder in your browser with no downloads
An online recorder uses your browser’s permissions to grab a tab, window, or full display. This method is fast and works when installs are blocked on your device.
Choose what to share in the built-in picker
Open the online recorder page and click the record prompt. Your browser opens a Share picker where you pick a browser tab for web demos, an app window for one program, or full screen for broader context.
Add webcam and microphone
If the tool supports it, enable your webcam so viewers see you alongside the capture. Turn on the microphone and say a test line to confirm levels and the right input is selected.
- Click Share in the picker to begin recording.
- When you finish, click Stop sharing in the browser to end the recording.
- Close private tabs and silence notifications before you share full screen.
This approach is ideal for locked-down machines where you can’t install apps. Features and export steps vary by the specific online tool you pick.
Get better results with the right recording settings and workflow
Deciding the capture area and audio setup first keeps your clips focused. Plan whether viewers need full context, a single app window, or a tight region around a control. This choice affects readability, file size, and viewer attention.
Balance quality and performance on your computer. Use 30 FPS for most video tutorials to cut load and file size. Switch to 60 FPS when motion is key. Close heavy apps and pause cloud sync, then run a 10–15 second test recording to check for stutter.
- Pick the right microphone and set input levels so narration sounds natural.
- Capture system audio when app sounds matter; mute it when narration should lead.
- Use shortcuts: Win+Alt+R to start/stop and Win+Alt+M to toggle the mic.
- Know where files land—Game Bar saves MP4s in Videos\Captures; Snipping Tool exports MP4.
- After saving, rename the file with topic and date so future searches take less time.
These small steps cut editing time and make your recordings share-ready. A short checklist before you press the record button will pay off in clearer videos and fewer re-takes.
Know the limitations of built-in Windows screen recording tools
Before you rely on built-in options, learn where they fall short for deeper production work. That helps you pick a simple capture or switch to a richer workflow without surprises.
Xbox Game Bar limits
The Game Bar records one active app at a time. It won’t capture the desktop, File Explorer, or the Start menu.
If your workflow jumps between a code editor and a browser preview, you may need multiple clips or a different tool that grabs the whole display.
Snipping Tool dependency
Snipping Tool video is a Windows 11 feature and some controls depend on your build. Missing mic toggles often mean an update is required via the Microsoft Store.
When native tools aren’t enough
Built-in utilities lack advanced editing, annotations, webcam overlays, branded backgrounds, and instant share links. That adds manual upload steps and extra editing time.
- Use built-in tools for quick proof-of-bug or short clips.
- Upgrade when you need multi-source capture, on-screen notes, or frequent polished video.
- Consider OBS Studio for powerful free capture, Loom for fast webcam + share links, or Zoom Clips for quick trims and sharing (note free limits).
You’re ready to screen record, share, and move on with your day
When you need a clear clip fast, pick the path that matches your goal.
Use Xbox Game Bar for a quick in-app record and remember Win+Alt+R to start and stop, or press Win+G for controls. If you have Windows 11, use Snipping Tool for a tight capture and export MP4. Choose a browser option when installs are blocked.
Before the real take, do a 5–10 second test. Confirm mic and system audio, check Notifications are off, then screen recording the main action. Look in Videos\Captures for Game Bar clips and save or export MP4 from Snipping Tool.
Rename the final file, share the clip, and move on. A short, clear record saves back-and-forth and gets the job done.
Ava Kensington is a tech writer who believes technology should make life easier, not more complicated. She created MoodTechs to help everyday users get the most out of their devices with clear, step-by-step guides — no jargon, no fluff. From fixing a stubborn printer to locking down your privacy settings, Ava breaks it down so anyone can follow along.