Getting new type on your computer should be quick and reliable. This guide explains how to install fonts windows users trust and when each way makes sense.
You can add a new font through Settings, File Explorer, or the Microsoft Store. Each option has clear steps and works across Windows 11 and 10.
We also cover what a font file is, why ZIP archives must be unpacked into a folder before you proceed, and how to check that files land system-wide. Expect quick tips to avoid missing faces and to verify installs so apps see your type right away.
Key Takeaways
- Learn the fastest way to install fonts and when to use each method.
- Use Settings > Personalization > Fonts or File Explorer for direct adds.
- Extract ZIP archives into a folder first to access the actual files.
- Verify installs in Personalization and uninstall old designs you don’t need.
- Find safe downloads from Google Fonts, Creative Market, or designer sites.
What you’ll learn and the fastest way to get started
Start adding new typefaces fast so your documents look the way you want.
First, unzip any compressed download into a folder so the actual font files are visible. You’ll need .ttf or .otf files to proceed.
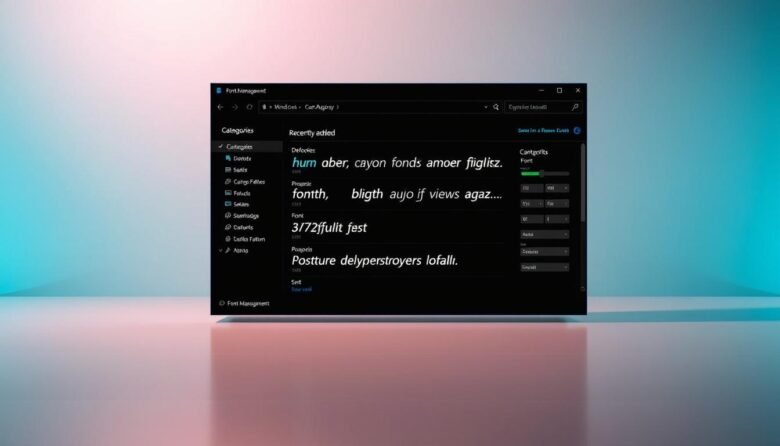
Next, open Settings and head to Personalization > Fonts. In that Fonts window you can drag and drop the files to add new fonts in seconds.
Prefer a single-click flow? Double-click a file to open the preview window and press the Install button to add a font immediately.
You can also click the Get more fonts in Microsoft Store link inside Settings to browse curated, trusted choices from the Store.
Quick checklist: unzip, open Settings > Personalization > Fonts, drag your files or use the preview Install button, then confirm the new font appears in your apps.
Install fonts Windows: Step-by-step in Windows 11 and 10
A few simple steps will have new type ready to use across your apps. Start by downloading the zip and using File Explorer’s Extract All to unpack the folder so the system can read the actual font files.
Open Settings > Personalization > Fonts (use the search box if you prefer). In the Fonts window you can drag .ttf or .otf files onto the “Drag and drop to install” area to add many at once.
Prefer a one-by-one way? Double-click any font file to open the preview window and click the Install button to add that family immediately. Keep a dedicated font folder so you can select files quickly when you’re ready to add more.
Finally, open Font settings and use the search font box to find the family name. Click the listing to preview faces and confirm the installed fonts appear. This example process works the same on Windows 10 and 11, so your steps stay consistent across the computer environment.
Install via File Explorer and the context menu
You can quickly add typefaces by working from the folder where your downloads live. This method uses the file explorer and the right-click menu for direct control.
Extract ZIPs, select font files, and right-click Install
First, right-click the ZIP and choose Extract All so the actual font file types are visible. Then open that folder and select the .ttf or .otf you want.
Right-click a font file and pick Install. On newer systems you may need Show more options to reveal the classic menu.
Install for all users with admin rights
Choose Install for all users when you want the typeface available system-wide. This option requires admin rights and applies the change to every account on the computer.
Bulk-install multiple fonts in one action
To save time, Shift-click the first and last file to create a selection. Right-click the group and use Install to add many families at once.
Keep a dedicated font folder and avoid non-font files during selection. After installing, open Settings > Fonts and search the family name to preview and confirm the new entry.
Get fonts from the Microsoft Store
If you prefer a vetted catalog, the Microsoft Store makes finding quality type simple. Open Settings > Personalization > Fonts and click the Get more fonts in Microsoft Store link, or launch the Store app and use the search bar for “Fonts.”
Tap Explore new fonts to view curated families. Many items are free; some cost a few dollars and require you to sign in with your Microsoft account.
The Store is fast and safe, and the Get or Free button installs a family without leaving the app. When the add completes the button turns to Open and your new font appears in Settings so apps can use it.
Keep in mind the catalog is smaller than third‑party sites. Use the search font field to find a family, check weights and language support, and treat the Store as a time‑saving, quality‑checked option when you need a quick, reliable choice.
Advanced and legacy methods for power users
Advanced users often prefer classic, file-based workflows that give precise control over system type. These methods mirror legacy admin habits and work the same in Windows 10 and 11.
Search the Start menu for “Fonts” and open the classic Control Panel window. Then use drag drop to move .ttf or .otf files from your download folder into that Fonts window. This behaves like the Settings approach but suits users who favor the old UI.
Copy files to C:\Windows\Fonts
For a direct route, open File Explorer and copy the actual font file(s) into C:\Windows\Fonts. Pasting there triggers registration so the family becomes available system-wide. This is fast when you manage many machines or repeat installs.
Quick tips
Make sure ZIP archives are extracted first so the files you move are true font resources. Keep an organized font folder and open File Explorer alongside the Fonts Control Panel to speed batch moves. Finally, confirm the new family appears in font settings to verify the step completed.
Manage your fonts: preview, uninstall, and best practices
Previewing and pruning your type collection saves time on every project. Open Settings > Personalization > Fonts, click a family, and use the preview window to check bold, italic, and weights before you select fonts in an app.
To remove a family, open its font page and click the Uninstall button. This clears the system list and helps apps load choices faster. For duplicates, search font by name in font settings and remove extra entries.
Where to source type safely
Start with Google Fonts for reliable free fonts and clear license terms. For premium or unique finds, check Creative Market and Behance portfolios. Keep a short list of trusted vendors to save time.
Licensing and organization
Always read the license before using a face in client or commercial work. Many freebies allow personal use only, so make sure your usage matches the license.
Keep downloads in a dedicated folder, document each font file’s license, and store the original archive. As an example, after drag drop to add a family, open the family page in font settings to preview faces and confirm the installed fonts appear.
Wrap-up: Choose the best way to install and manage fonts today
Pick a method that fits your workflow and get new type ready in minutes. Use Settings > Personalization to drag files into the Fonts window, or double-click a file and press the Install button to add a new font fast.
For batch work, the File Explorer context menu and the “Install for all users” option make mass adds efficient on a single computer. Power users can copy files directly to C:\Windows\Fonts or use the Control Panel window for classic control.
The Microsoft Store offers a curated catalog when you want a vetted source. Keep a dedicated folder for families, store licenses, preview faces in Settings, and remove unused items so your apps stay nimble.